Technology | University of Iowa
 Summary. Utilizing a Virtual Private Network (VPN) allows users to connect to institutional computing services such as network drives and printers as if they were on location and physically connected to the network. Cisco AnyConnect is a popular VPN solution that’s used by many institutions including the University of Iowa.
Using the University of Iowa as an example, the instructions on this page provide an example of how to use VPN on your personal computer to print to a departmental printer whether you’re on or off-campus. The instructions assume that you’re using Windows 7.
1. Setup the Cisco AnyConnect software by following the instructions provided on the University of Iowa ITS VPN support page that describes how to download, install, and configure the Cisco AnyConnect client from the ITS Software Download site.
Alternatively, you can use the web-based installation method found at http://vpn.uiowa.edu. However, if you do use the web-based method, there may be some confusing error messages and the process might not go as expected. Examples of possible errors are below. You might have success if you make repeated attempts at using the web-based installation.
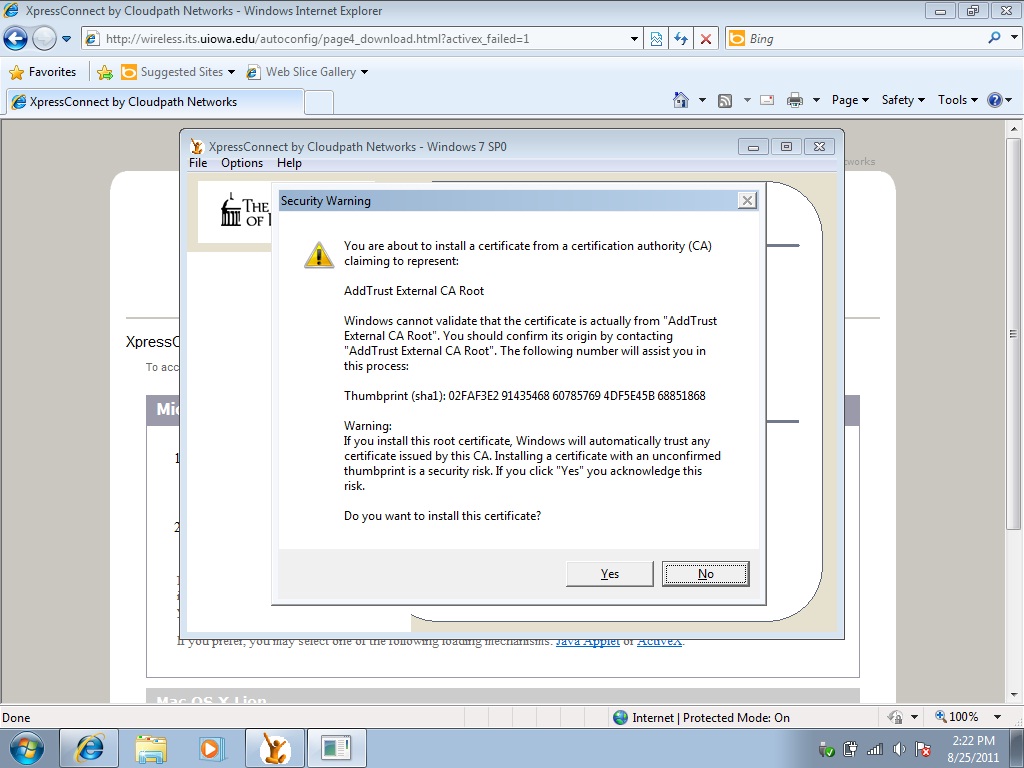
The warning below provides an ominous message about the security certificate. Most users will be stymied and not go beyond this point.
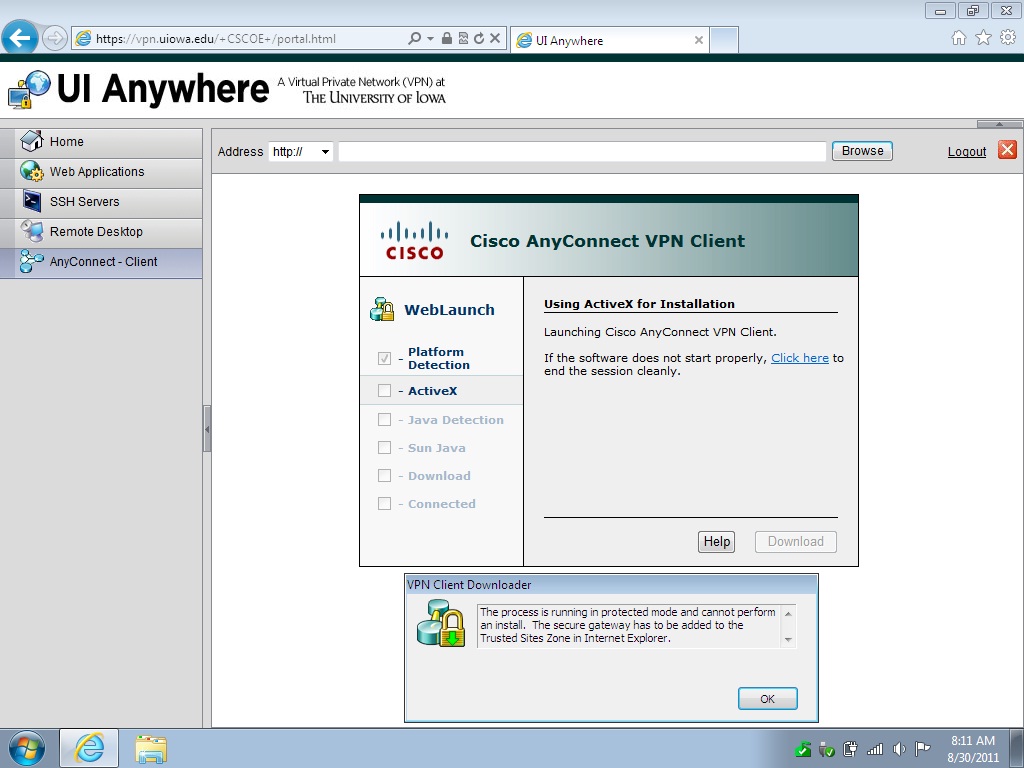
Brave users will click the Yes button shown above, but then it’s likely that they will get the message shown below stating that the process cannot perform an install.
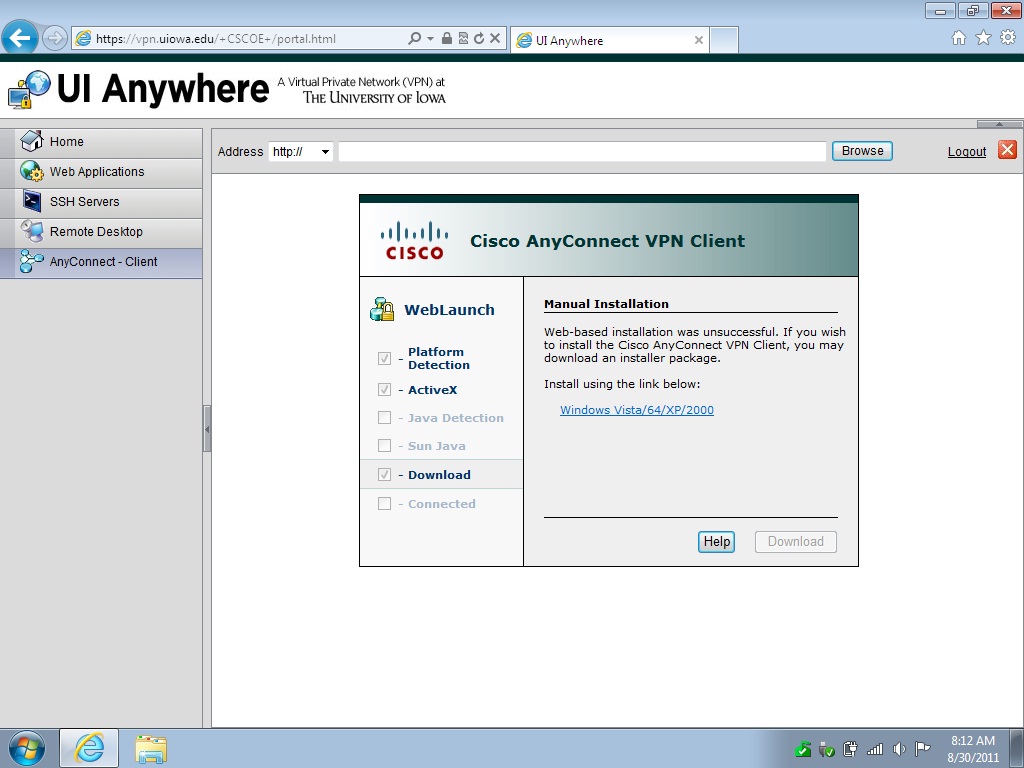
Eventually, a message like the one below will appear suggesting that you manually install the client by clicking on the link provided. Note that the link provided doesn’t indicate Windows 7 compatibility, but the Cisco AnyConnect client actually is Windows 7 compatible. It’s for these reasons that you may want to make use of the instructions provided on the University of Iowa ITS VPN support page that describes how to download, install, and configure the Cisco AnyConnect client from the ITS Software Download site (instead of using the web-based method).
2. After getting connected to the enterprise network using VPN, then from the Start Menu choose Devices and Printers as seen below.
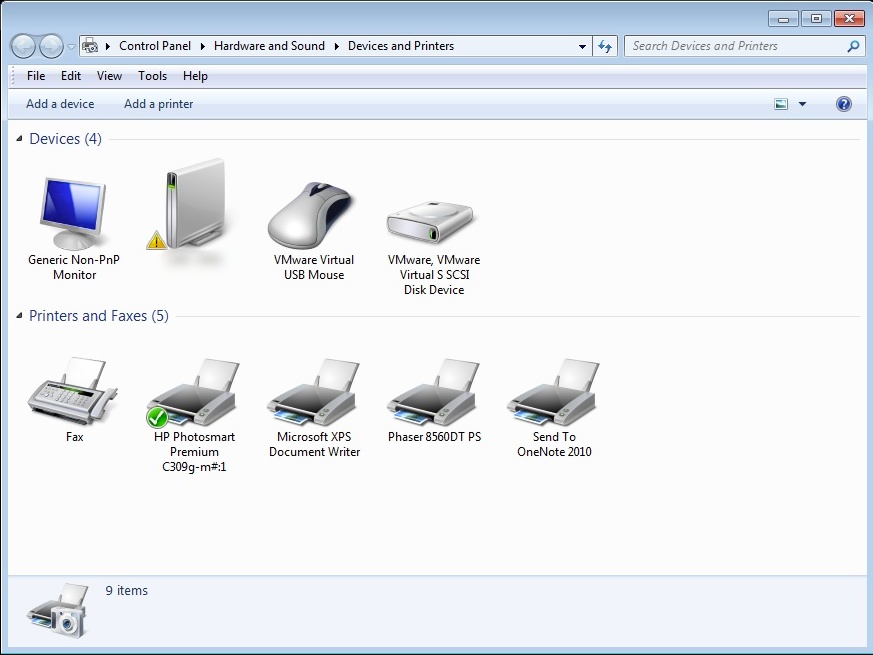
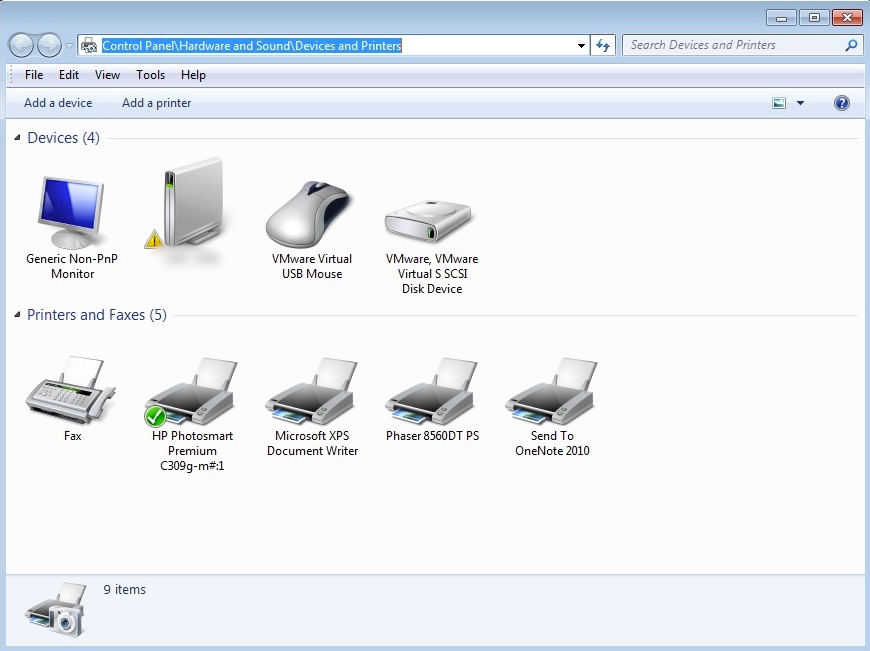
3. When you click on Devices and Printers, you’ll get a listing like the one below.
4. Right click with your mouse in the area of the address bar to the right of Devices and Printers. This will cause the address bar to be highlighted as shown below.
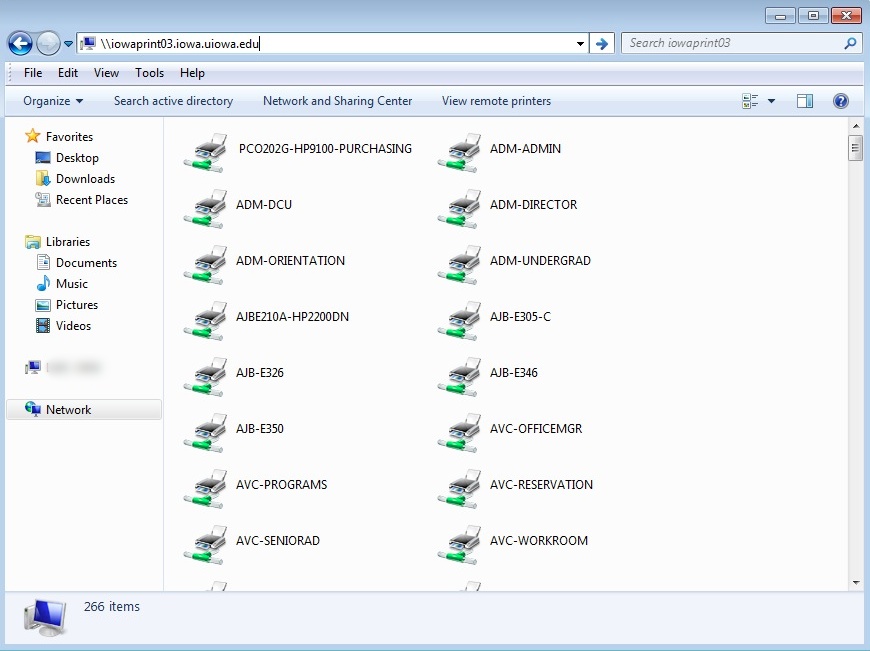
5. You can now type into the address bar. As you begin to type, the highlighted text will be replaced. Type \\iowaprint03.iowa.uiowa.edu in the address bar as shown below. Alternative print queues can be typed such as iowaprint04 or iowaprint05.
As you can see above, once you type in the name of the print queue, the available printers will show up. In this example, there are 266 printers available. You can scroll down the list to find the appropriate printer that you’d like to print to. For this example, most printers are listed according to departmental code and location.
