The Voice Memo program on iPhone and iPad lets you make high quality audio recordings. By default, they are saved to iCloud across your devices, and will even show up on an Apple computer automatically if you are logged into iCloud.
However, Sharing these recordings can be a bit tricky. The file size can be a bit large to send by email. The file size is about half a megabyte per minute. For example, a one hour recording could be 30 MB in size. So, you will probably want to share them using a cloud storage service such as Dropbox, OneDrive, iCloud Drive, or Google Drive. If your recipient has a preferred system they already use, the sharing process can be made much easier by using the service of their choice.
Share Using Google Drive
Here are the instructions for sharing an iPad Voice Memo audio recording using Google Drive. These instructions would be the same for an iPhone, but the screen shots used here are from an iPad running in Dark Mode. So, your device may look slightly different, but the instructions should be the same.
Before starting these instructions you should already have the Google Drive app installed on your device and be logged into your Google account.
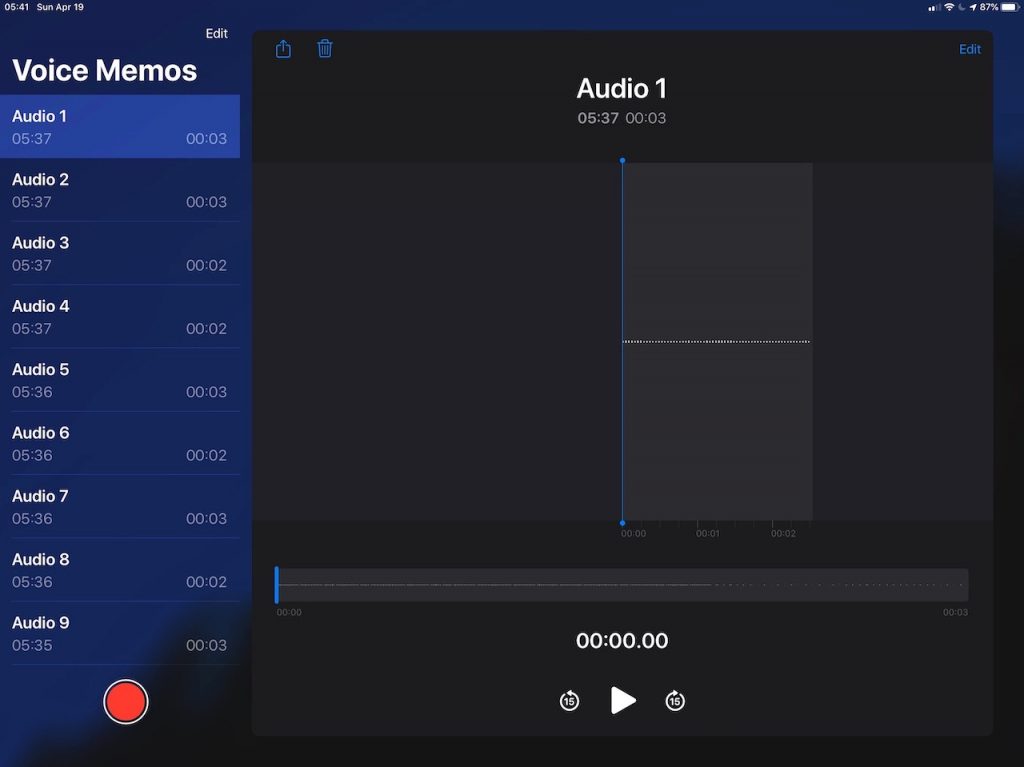
STEP 1 – Record
Using the Voice Memo app on your iPad, record the audio you would like to share. When you are done, click the Done button.
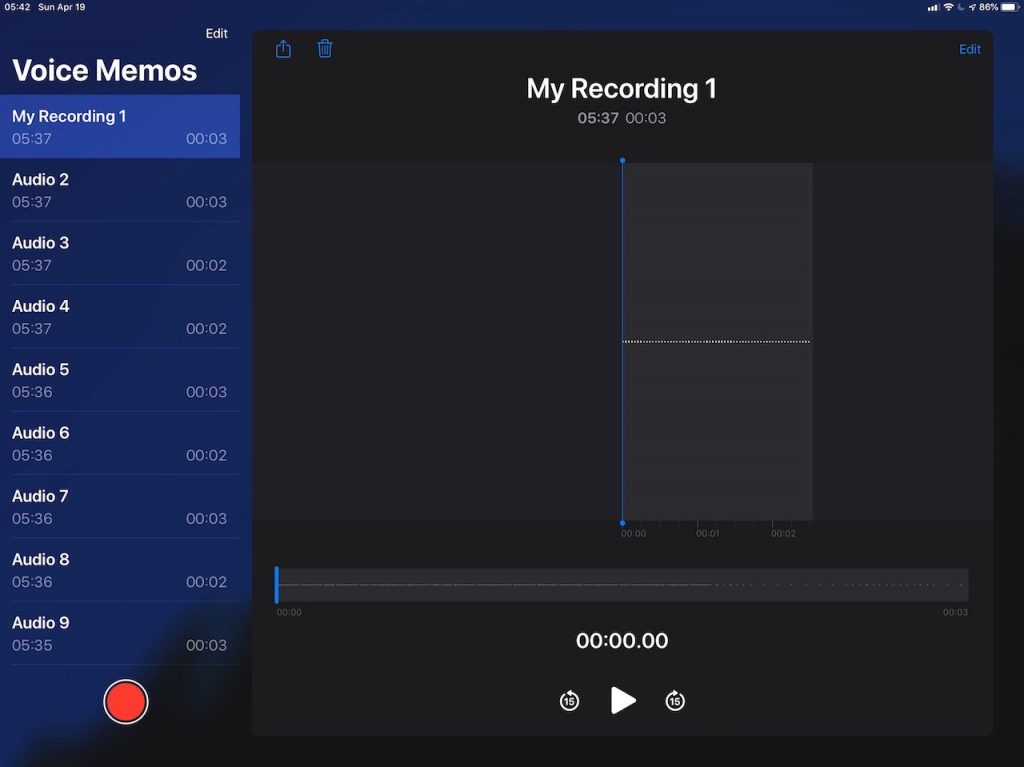
STEP 2 – Rename
Rename your audio by tapping four times on the default recording name. Tapping four times enters the edit mode and selects the current text. Type in a new name and press the return key. Having a unique meaningful name will be important later on when we go to share the file.
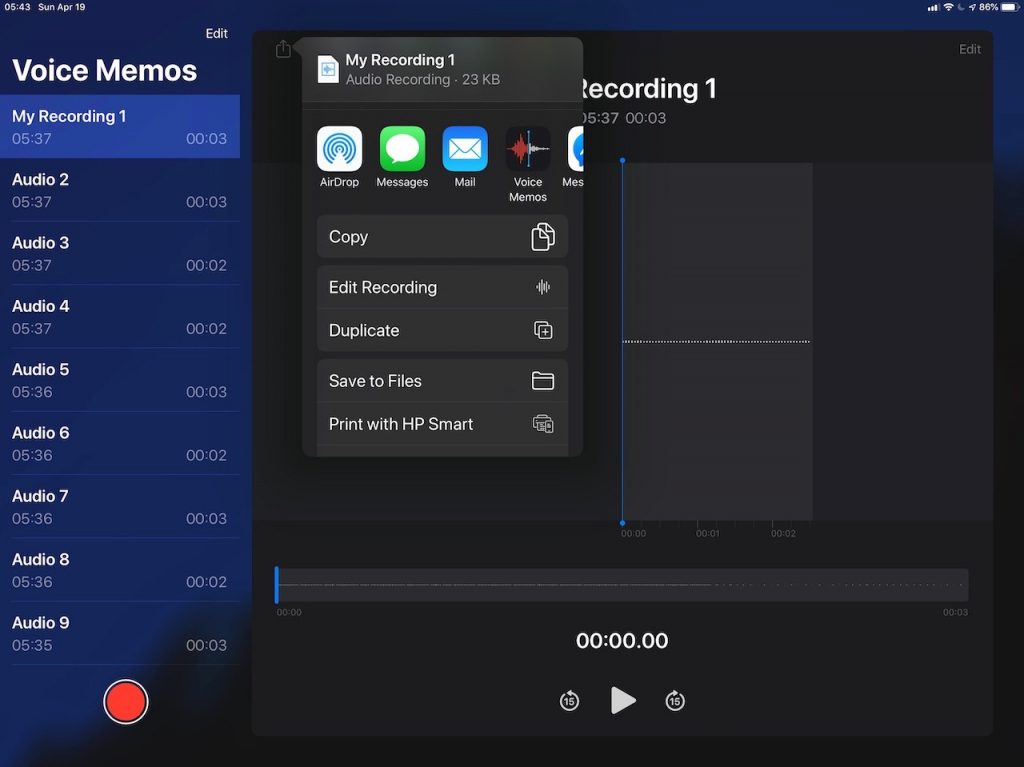
STEP 3 – Share and Save to Files
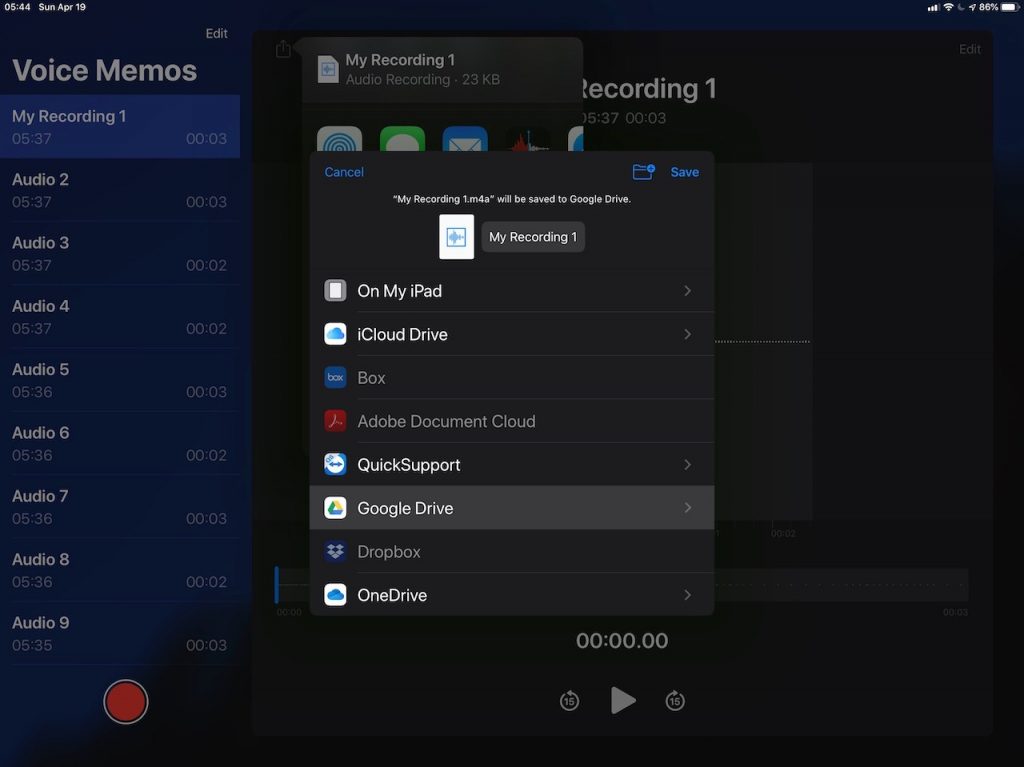
Tap the Share Icon ![]() to bring up the sharing options. You may see an additional top row of Siri recommended sharing options based recent activity such as people to email or text the audio to. Ignore this and scroll down and tap on Save to Files.
to bring up the sharing options. You may see an additional top row of Siri recommended sharing options based recent activity such as people to email or text the audio to. Ignore this and scroll down and tap on Save to Files.
STEP 4 – Google Drive
Navigate to the top level of sharing locations and choose Google Drive.
STEP 5 – Choose Folder
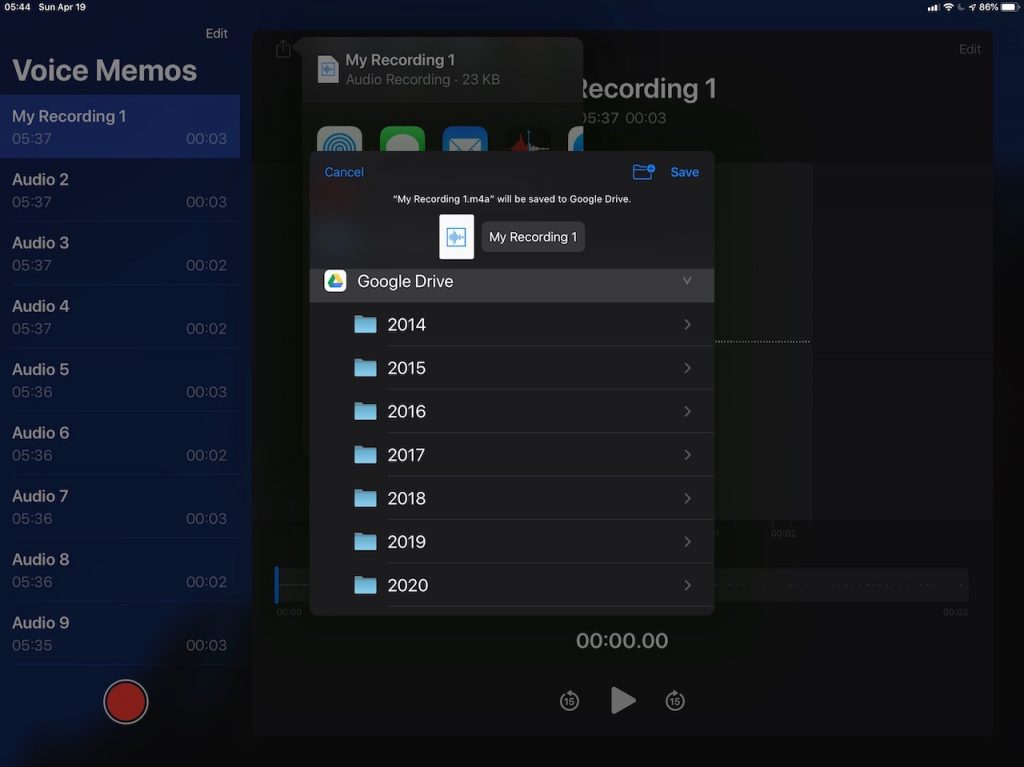
If you are already sharing a folder with collaborators, navigate to that folder and save the file there. Otherwise just tap on Save (top right of navigation area) and put it directly to the top level of your Google Drive. In the example below, there are folders for each year to keep data organized.
STEP 6 – Share in Google Drive
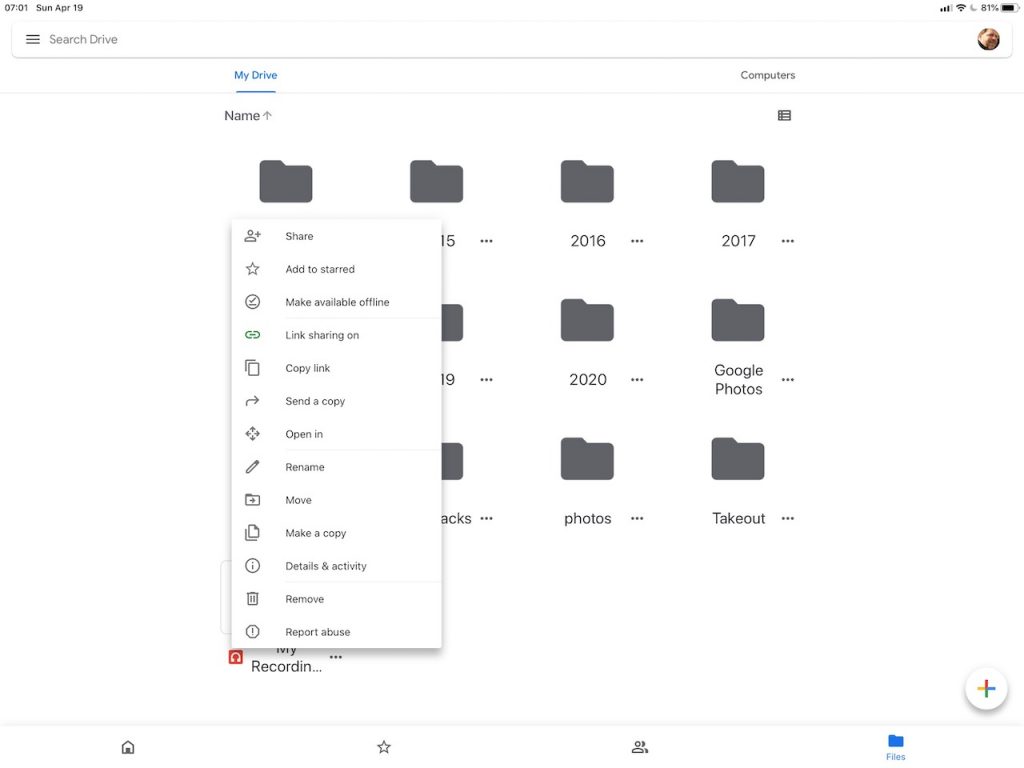
If you already saved the file to the correct shared folder on Google Drive then it’s ready for others to access. If not, using the Google Drive app on your iPad, click on the three dots to the right of the file you just saved (as shown below), and move it to the correct shared folder. Or, you can directly share that individual file using the Link Share option to get a link to the file. Copy the sharing link and email it to anyone you’d like to share the file with.
Hopefully all of the above steps went smoothly for you.